
Logging in to your CanadaBuys account
Article-27234
This resource guide will walk you through how to set up and log in to your CanadaBuys account. Logging in to CanadaBuys gives you access to:
- The Tender Management Application (TMA)
- SAP Ariba and SAP Fieldglass (for buyers from Public Services and Procurement Canada [PSPC])
- ServiceNow (for buyers from PSPC), which you can use to submit technical issues or requests to the CanadaBuys Service Desk
- additional resources and how-to guides that explain procurement processes for buyers
Don’t have a CanadaBuys account yet? Find out how to request an account.
On this page:
Set up your login profile
Once you have received the email with your CanadaBuys username and password, you can begin the initial set up of your login profile by following the steps below.
If you are a member of PSPC you can skip to Step 7.
Tip: To change the default language of your browser when using Edge, refer to the instructions in Microsoft’s article: Use Microsoft Edge in another language.
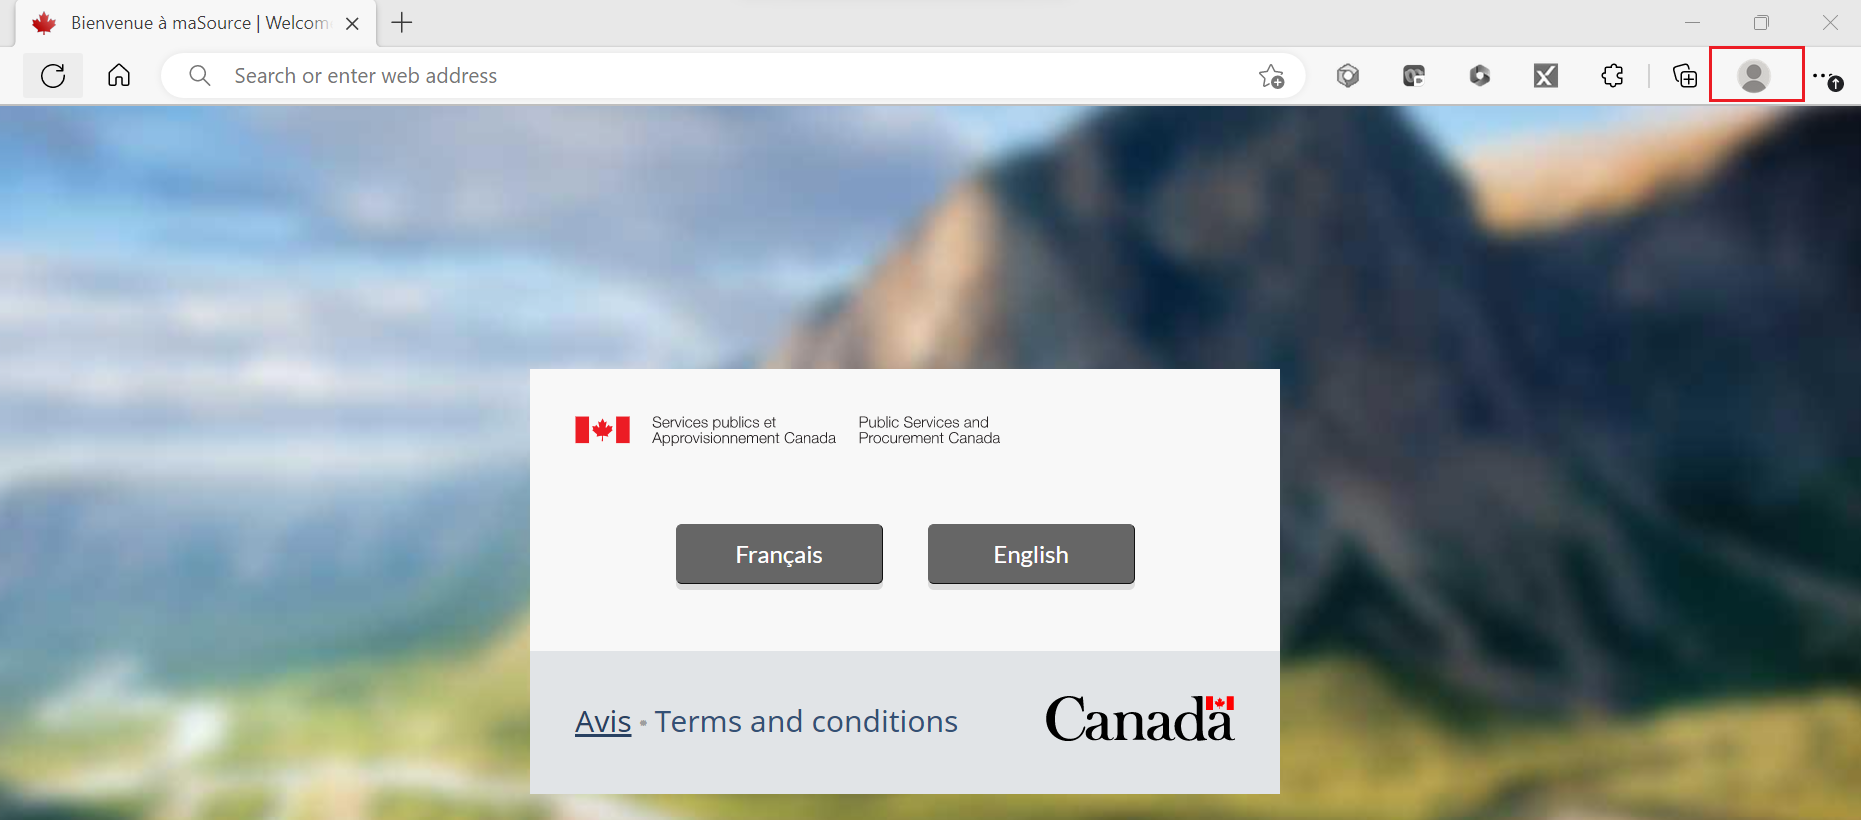
Step 1
Open a Microsoft Edge browser and click the profile icon in the top-right corner of browser to create a user profile.
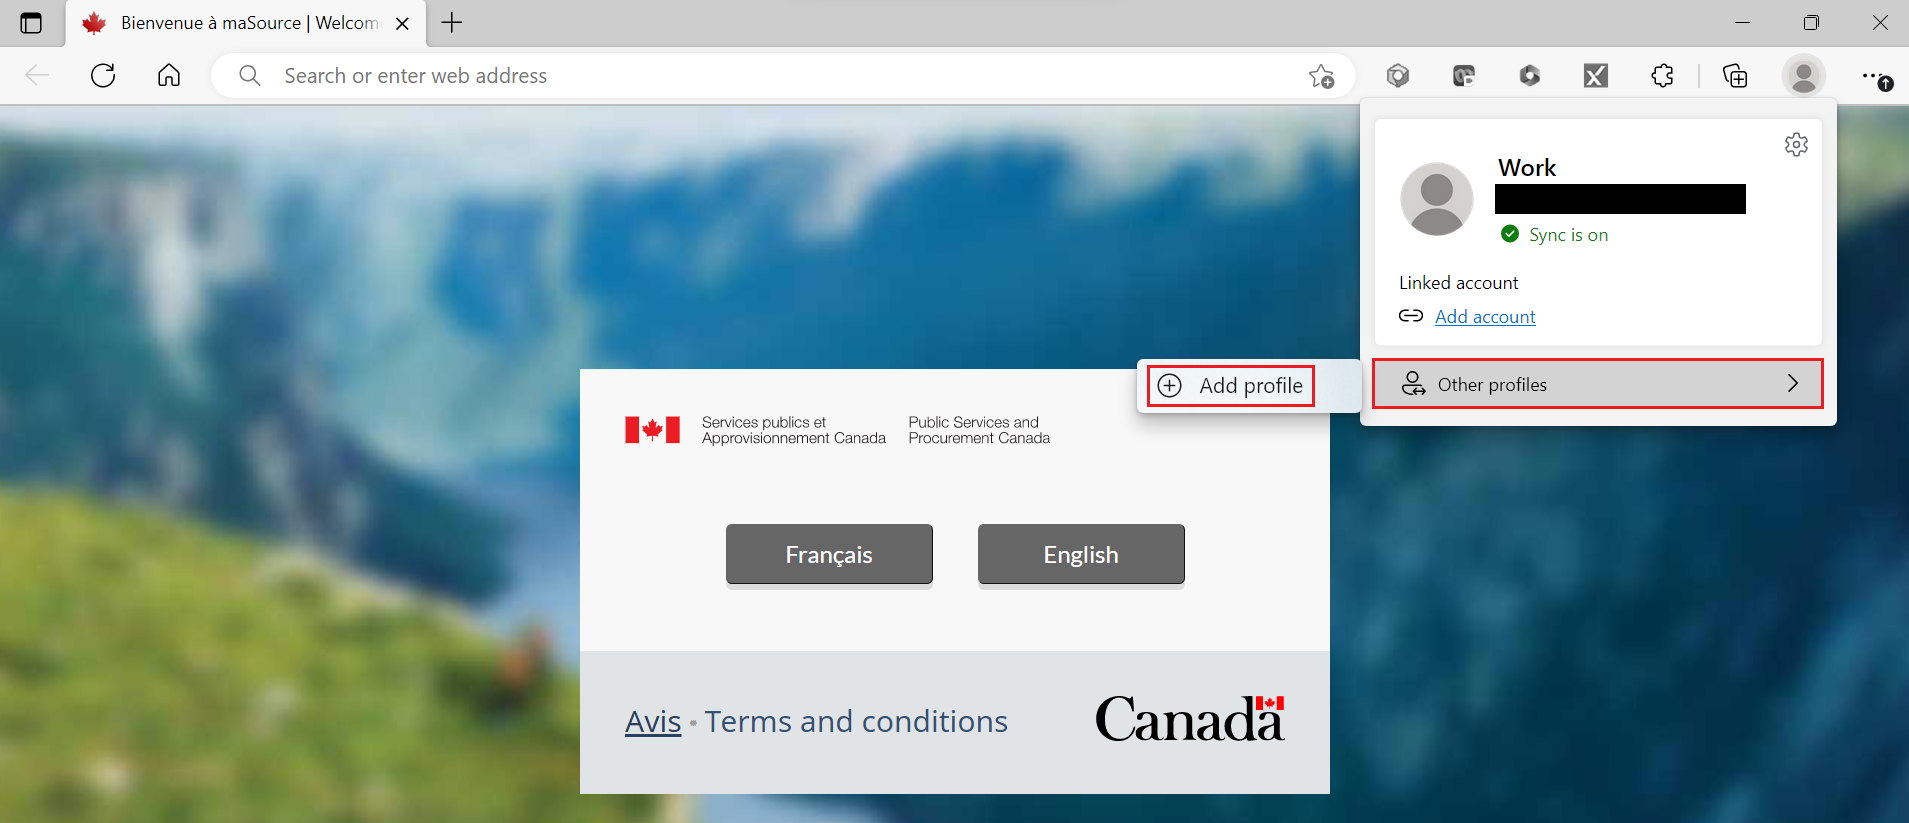
Step 2
Under the profile icon, click “Other profiles” and choose “Add profile.”
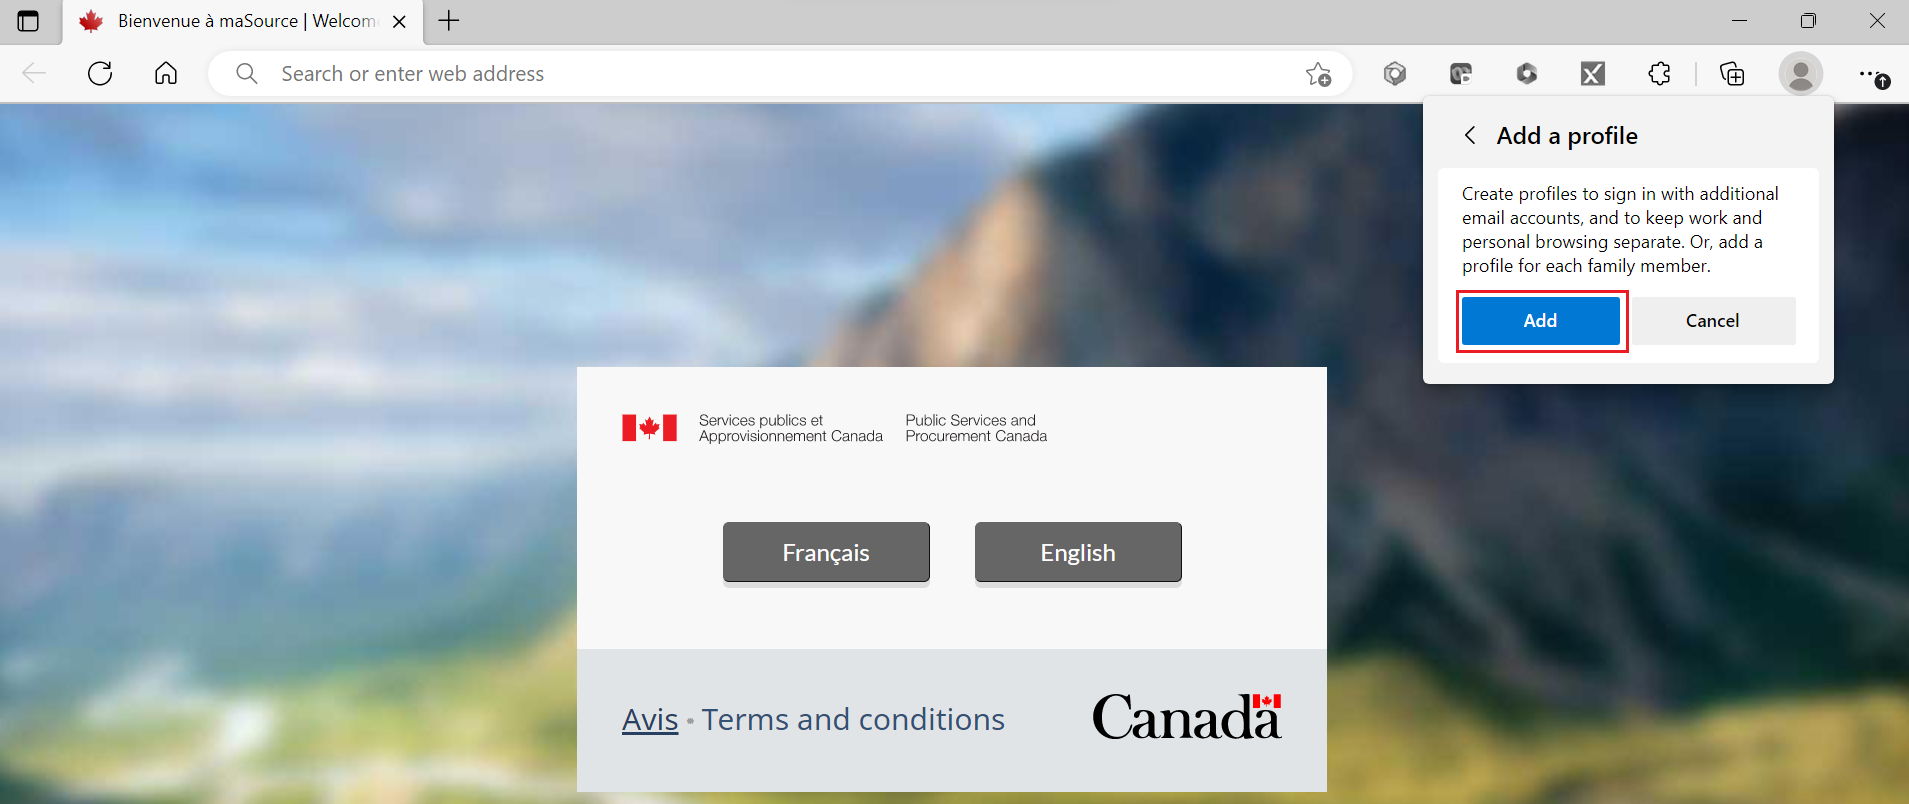
Step 3
An Add a profile pop-up window will appear, click the “Add” button.
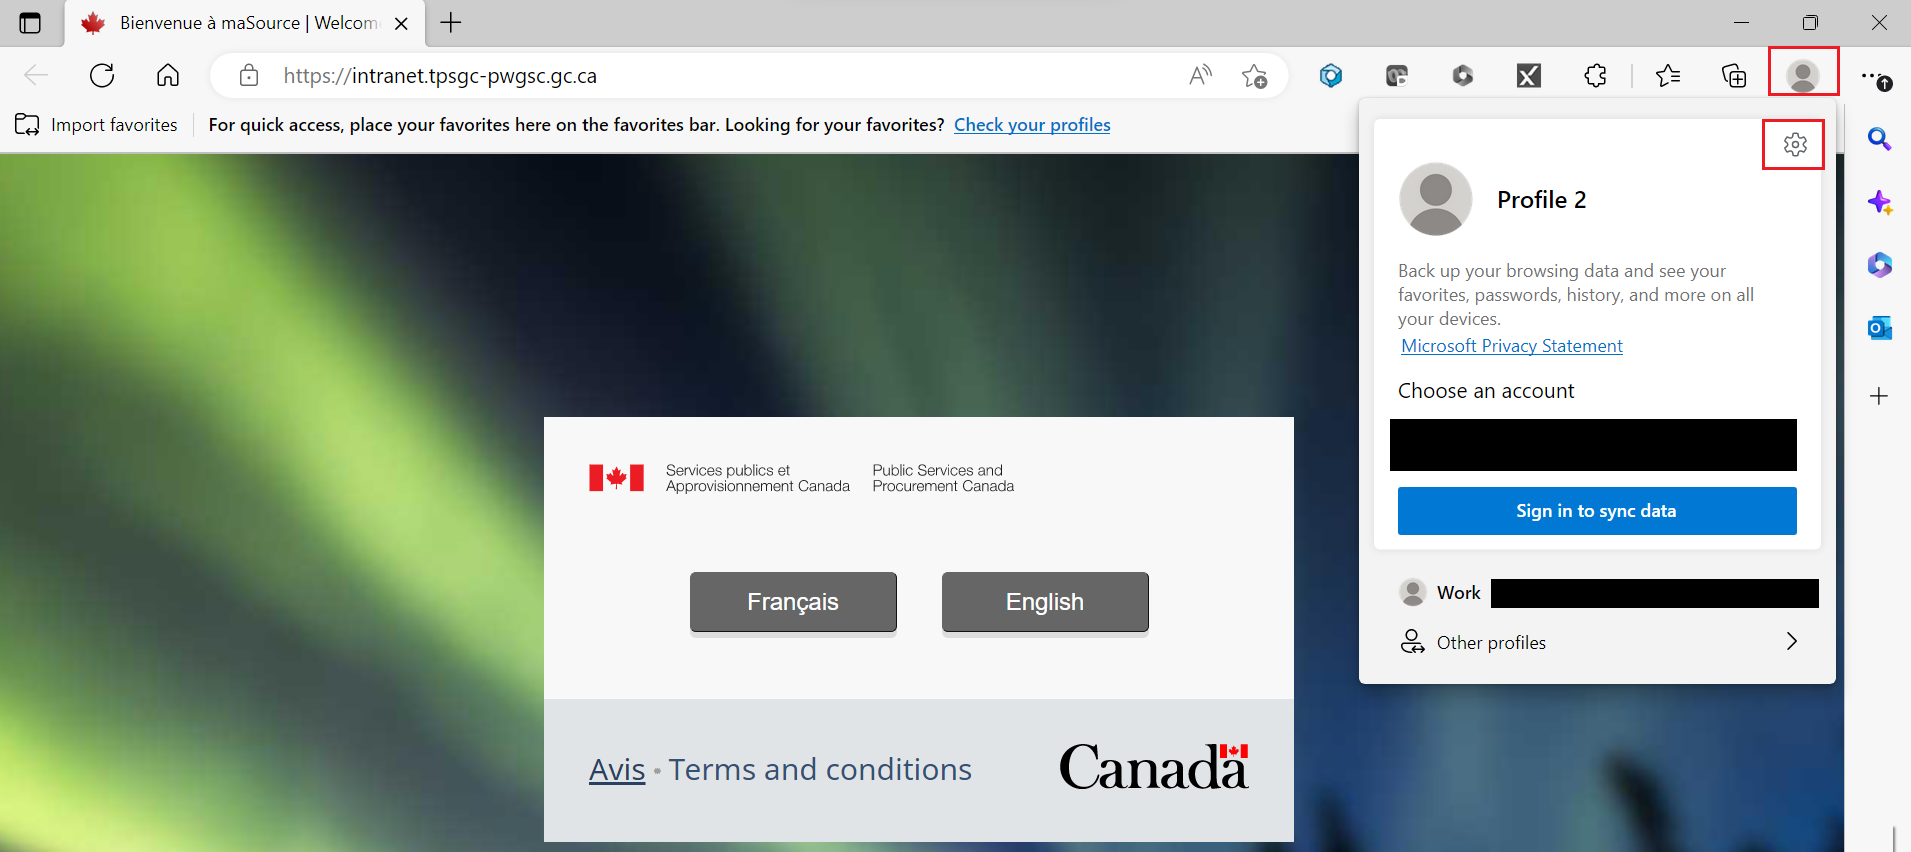
Step 4
A new browser window will open under the second profile created.
To personalize your profile, click the user profile icon in the top-right and select the gear icon to navigate to your settings.
Step 5
Then click the “Options” button (three dots) next to Sign in and choose “Edit” from the drop down menu.
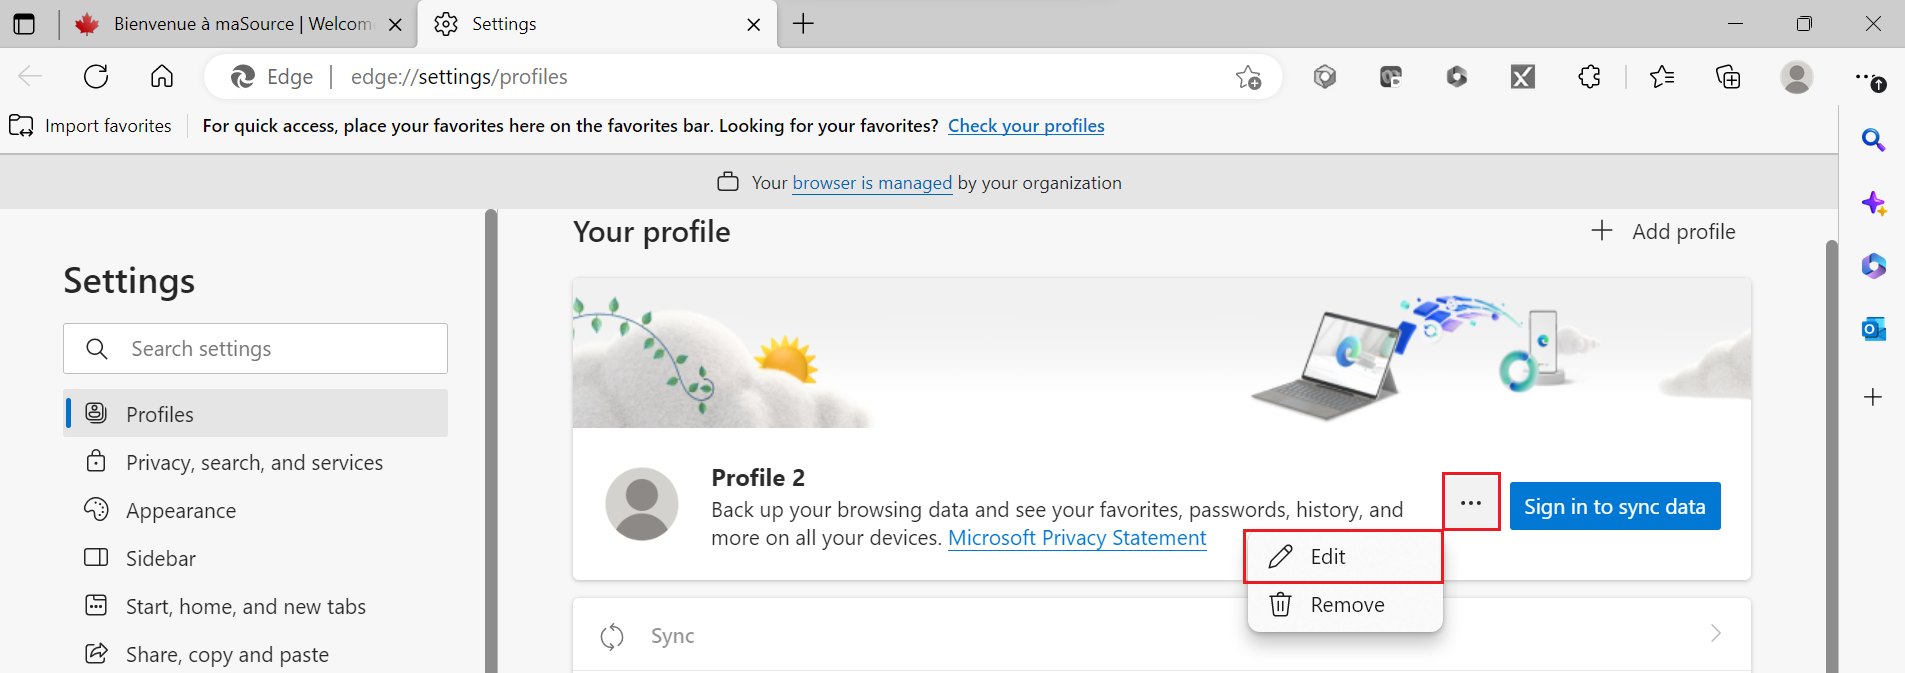
Note: Do not click sync data if you sign in to this user profile as it will create a block when trying to access your TMA account.
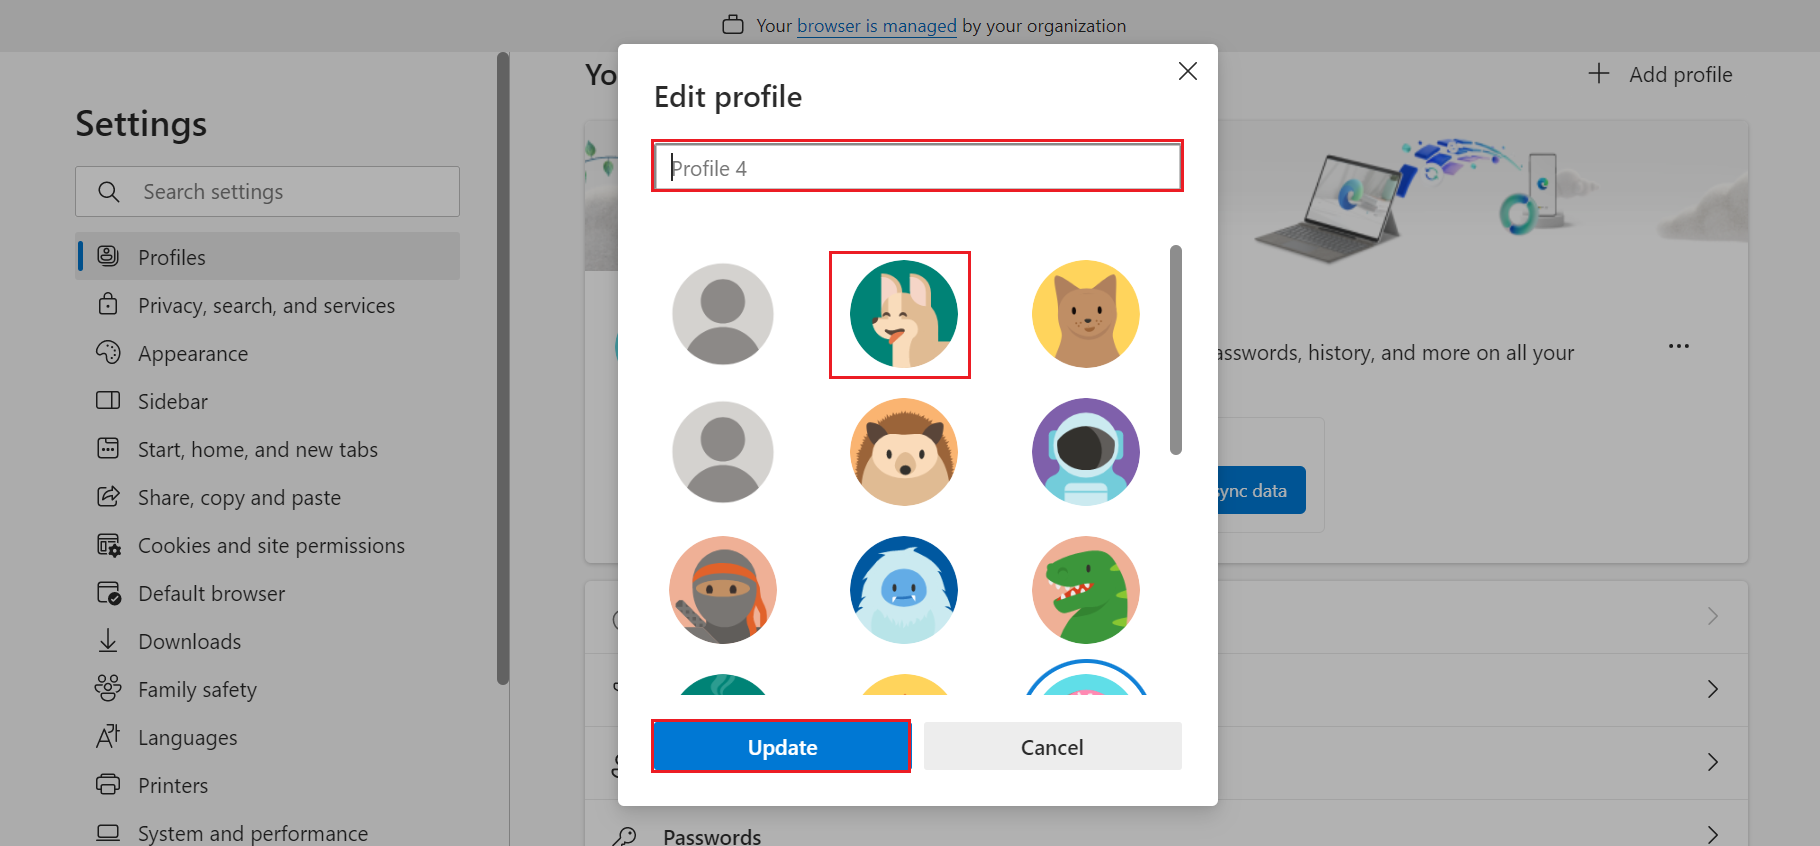
Step 6
An Edit profile pop-up window will appear where you can enter a profile name and select an avatar. Click “Update” once you have added your edits.
Step 7
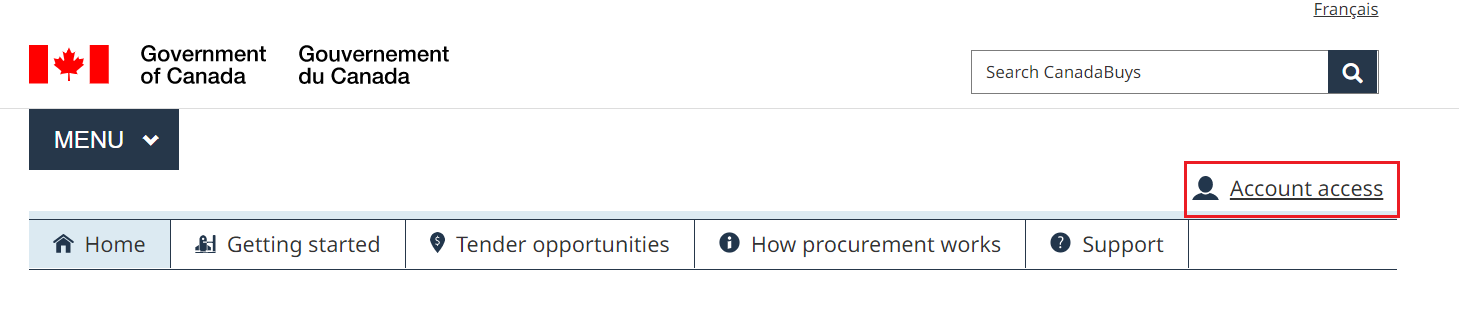
You can now begin the process of accessing your CanadaBuys account. First, go to the CanadaBuys website and click the “Account access” link at the top-right of any page.

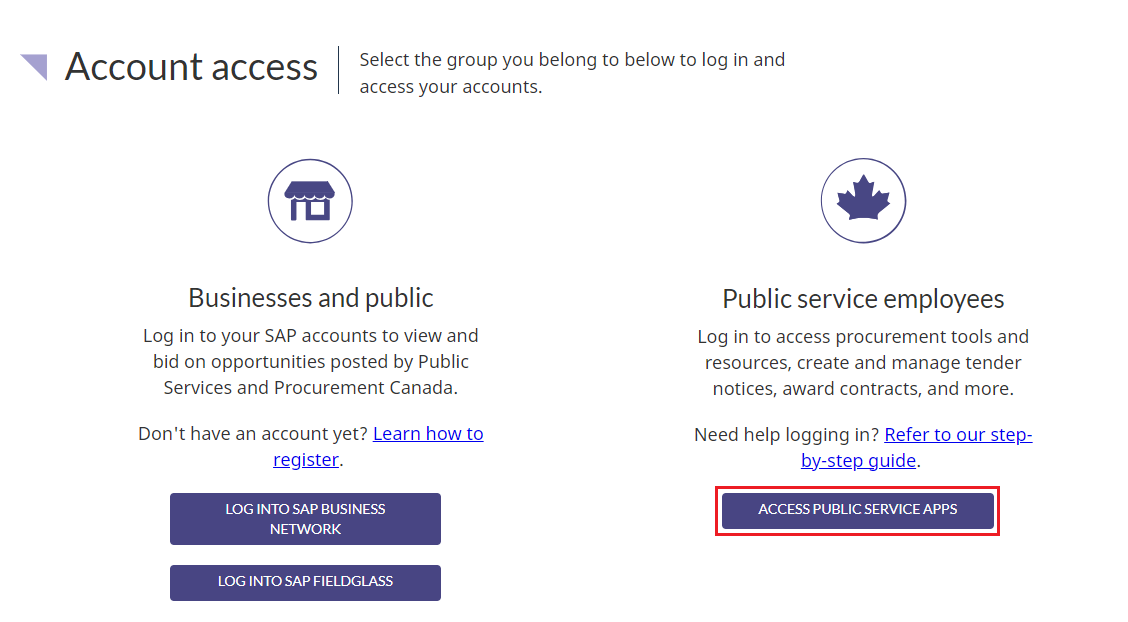
Step 8
Under the Public service employees section of the Account access page, click the “Access Public Service Apps” button.
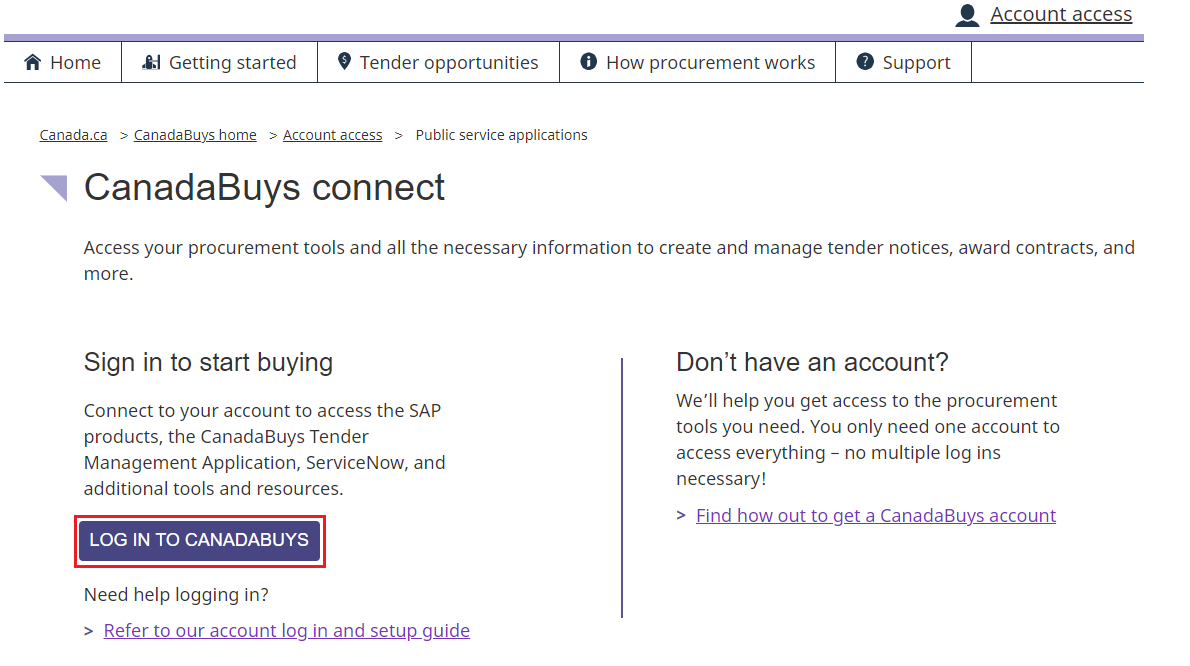
Step 9
On the CanadaBuys connect page, click the “Log in to CanadaBuys” button.
Step 10
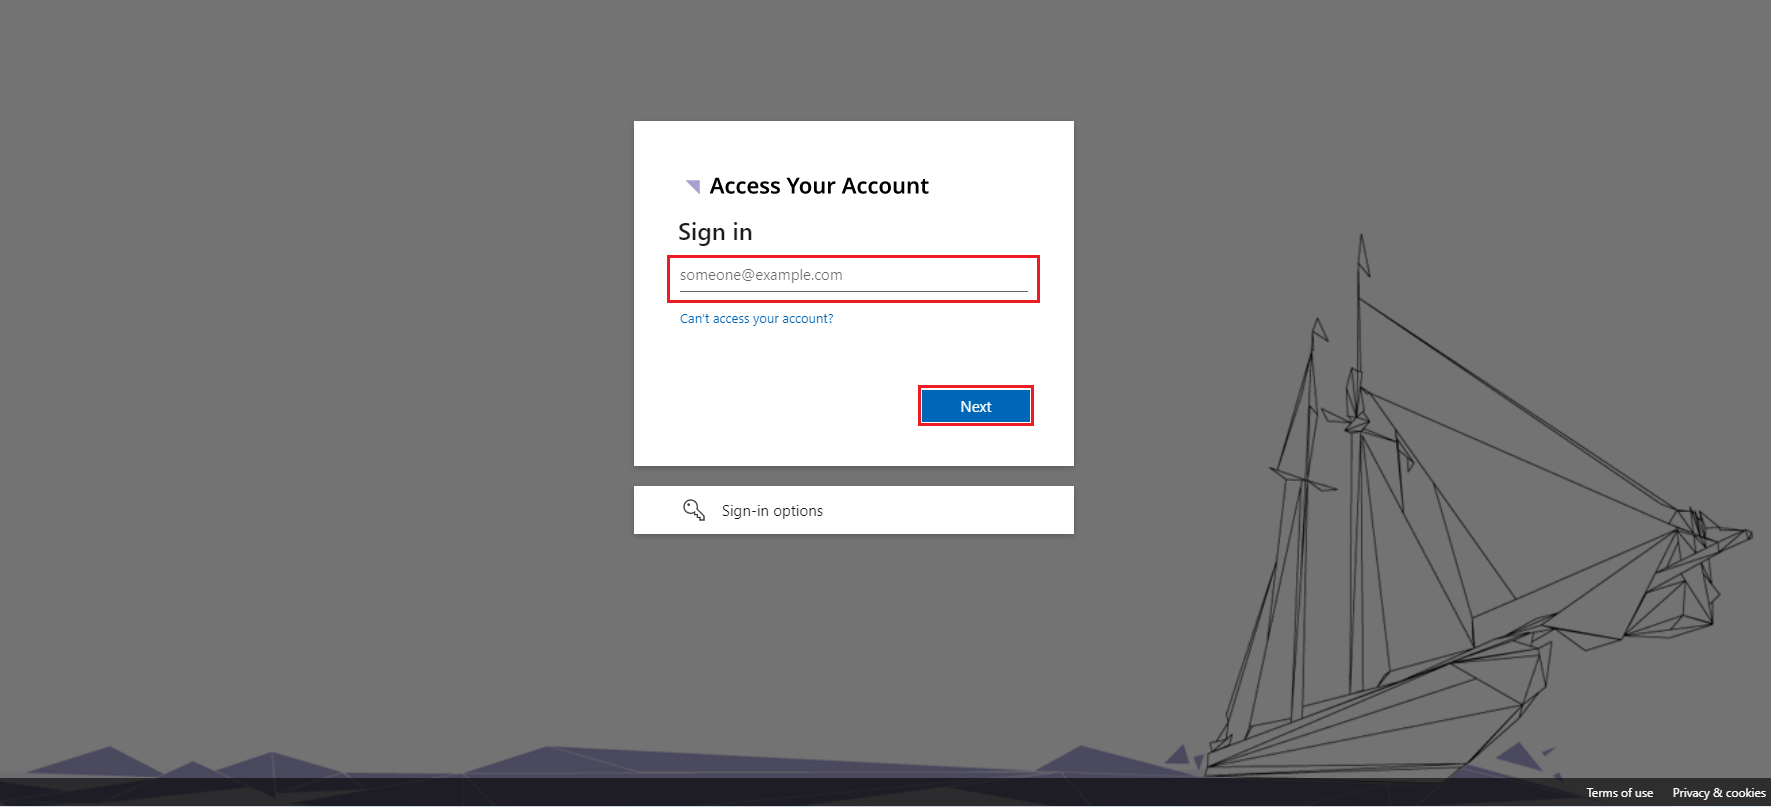
You will be directed to the Access your account page. In the field under Sign in, enter your Government of Canada email (example: first.lastname@tpsgc-pwgsc.gc.ca) or the CanadaBuys email that the Service Desk sent you by email (example: first.lastname@achatscanadabuys.ca). Then click the “Next” button.
Note: The CanadaBuys email is only used for your login. You will not receive any messages to the email.
Step 11
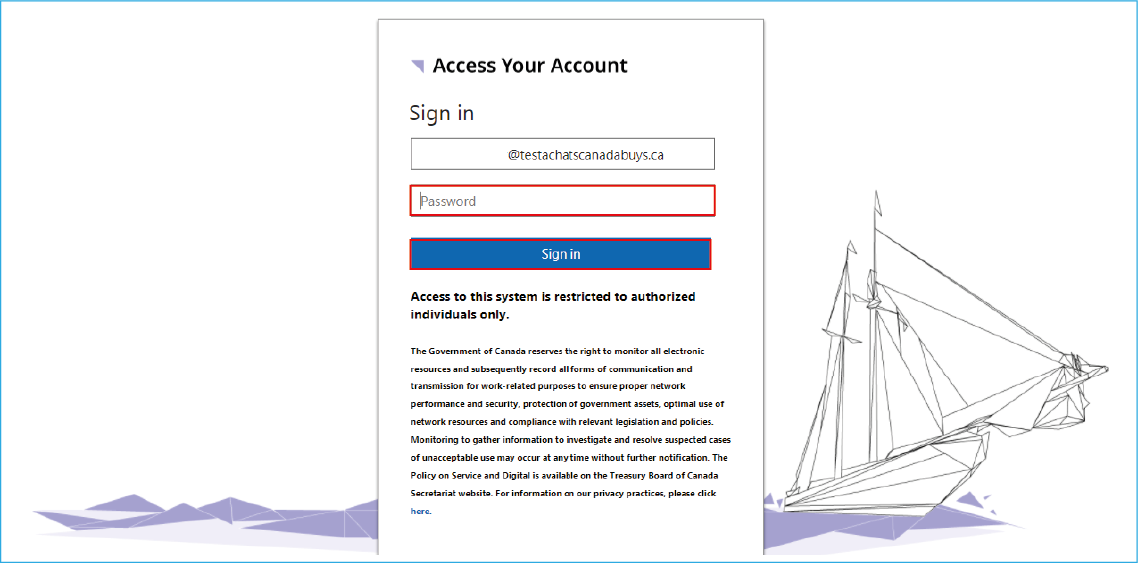
On the next page, in the space below your email, enter the temporary password that the Service Desk sent to you by email. When you are finished, click the “Next” button.
Note: If you are a PSPC buyer, in the space below your email, enter the password you use to log in to your work computer, and skip to Step 13 below.
Step 12
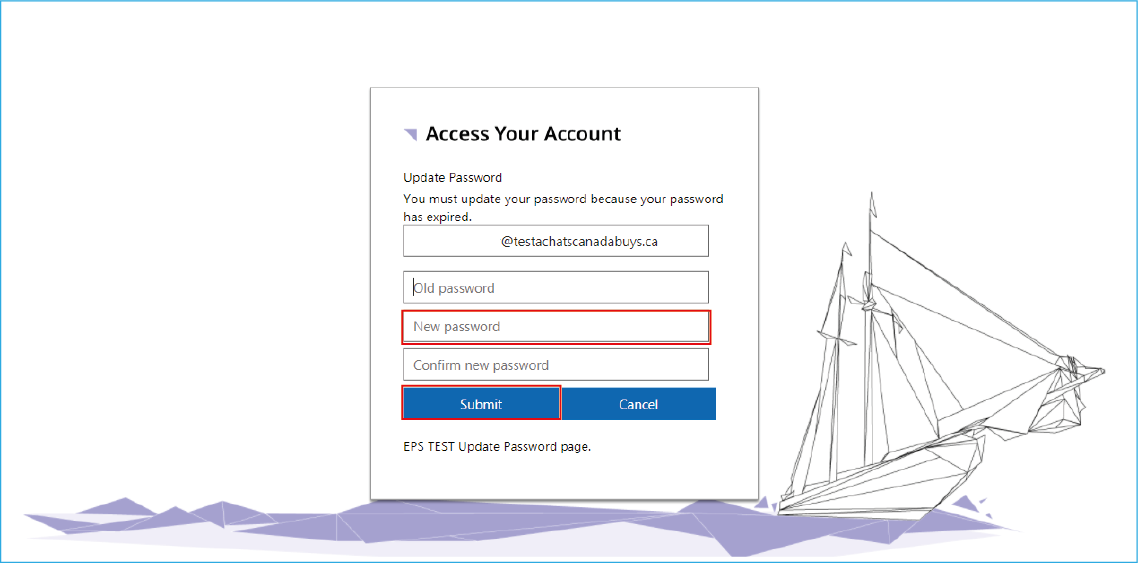
You will now be asked to create a new password for your CanadaBuys account. It must contain at least 12 characters. You don’t need to add any special characters or numbers. Once you have entered your new password in the field provided, click the “Submit” button.
Step 13
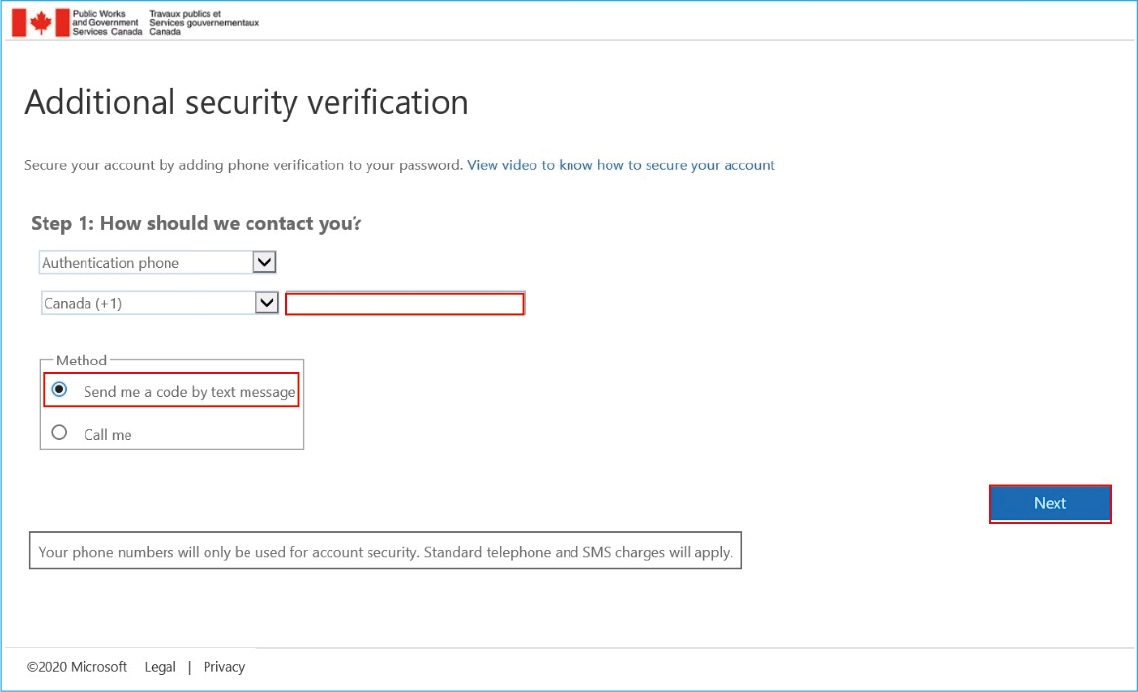
Next, you will be prompted to add a phone number. This will be used to verify your identity each time you log in. This feature adds another level of security to your account.
Enter your phone number in the space provided and select how you want to receive a code. You can choose to receive a verification code by text message or phone call. When you are finished, click the “Next” button.
Tip: If you need to change the phone number connected to your account, contact the CanadaBuys Service Desk.
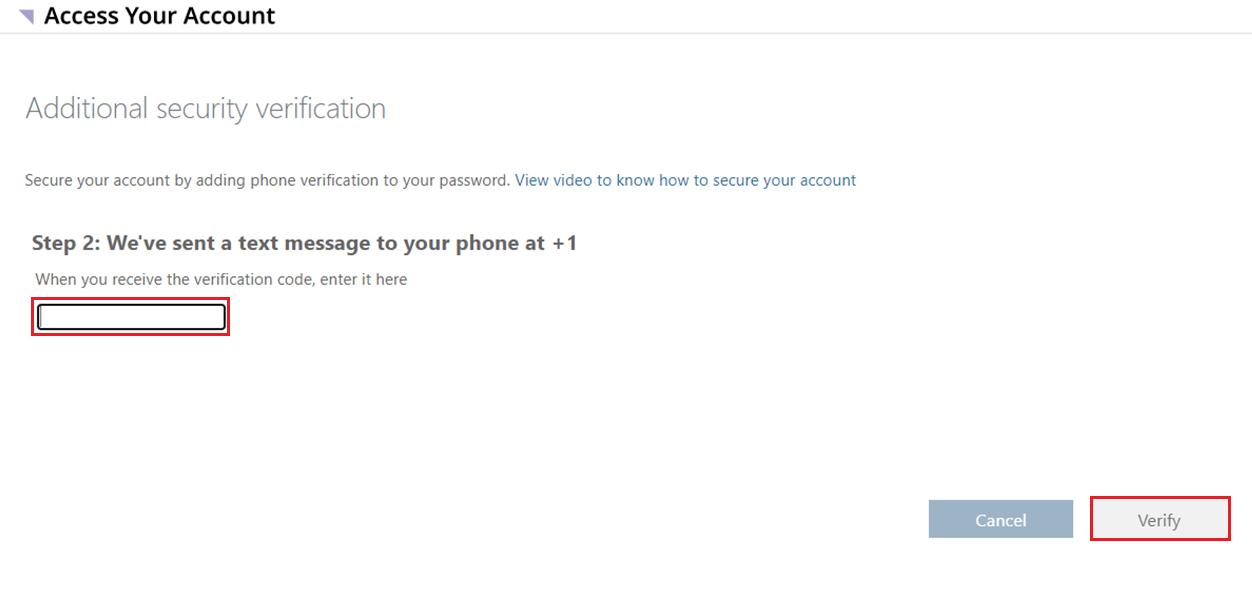
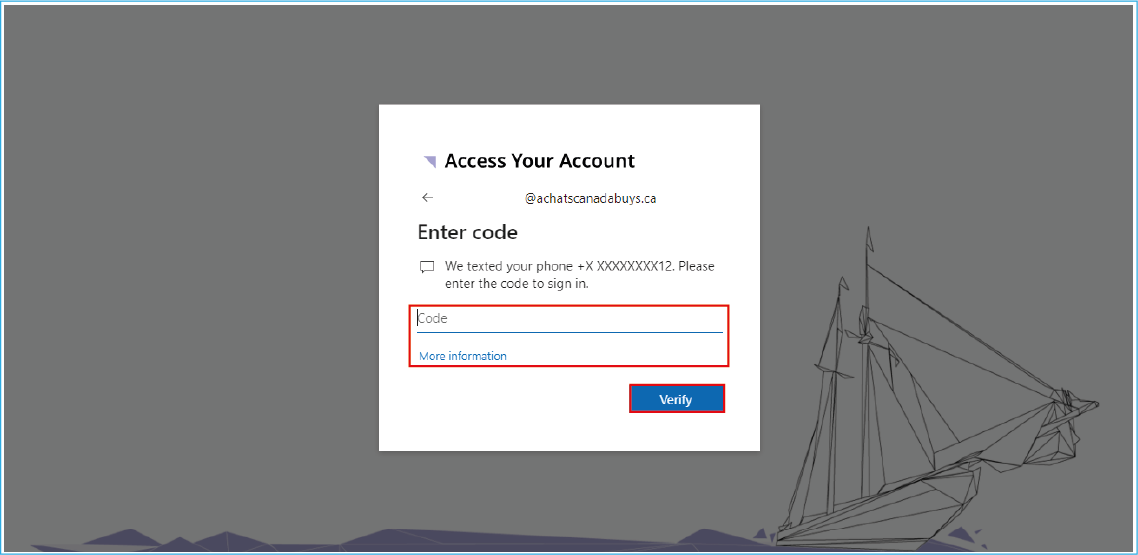
Step 14
Depending on the verification method you chose, you will receive either a text message or a phone call with a code. On the verification page, enter the code you received in the Code field and click the “Verify” button.
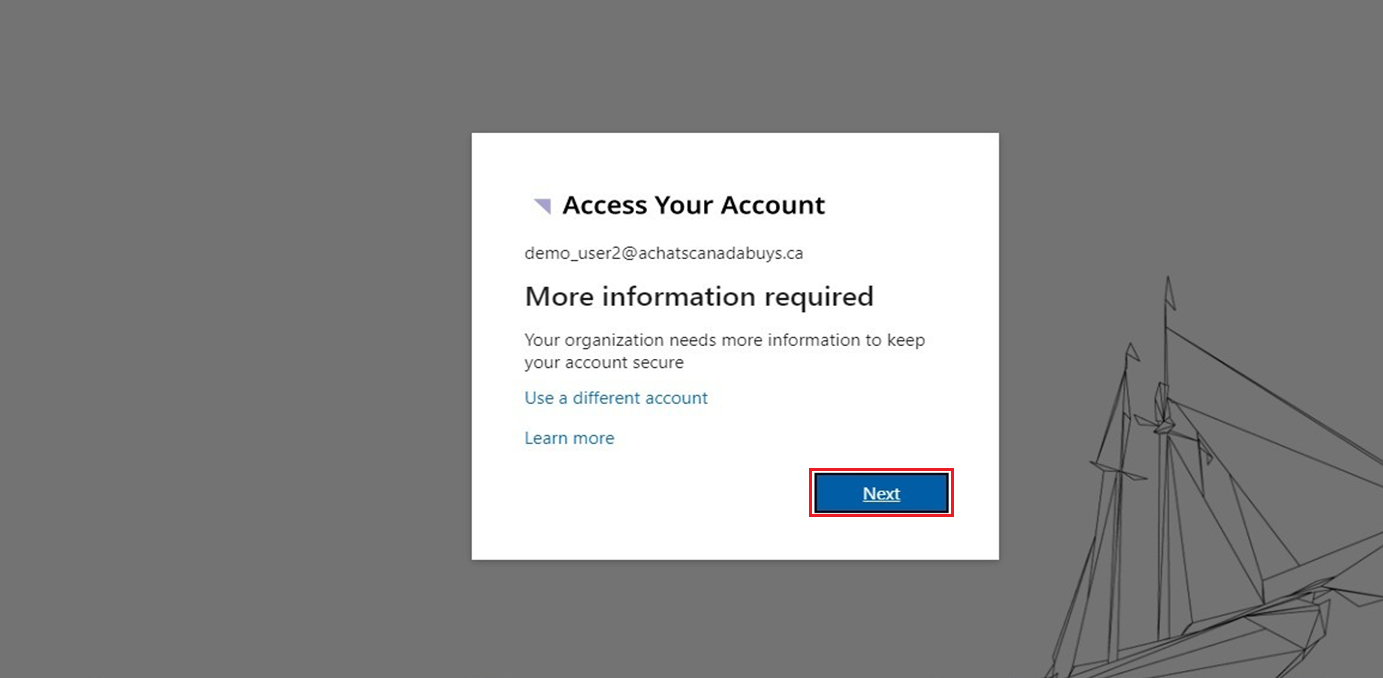
Step 15
If you have a CanadaBuys email, you will be asked to add more information to keep your account secure. Click the “Next” button.
Note: Buyers from PSPC should skip to Step 19 below.
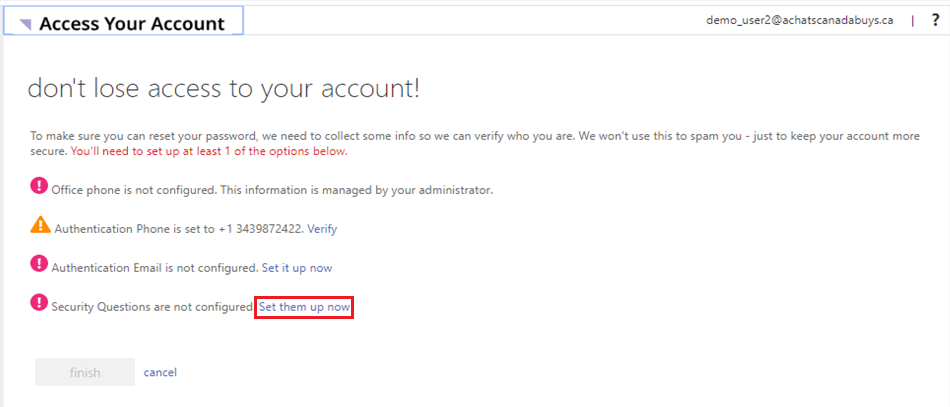
Step 16
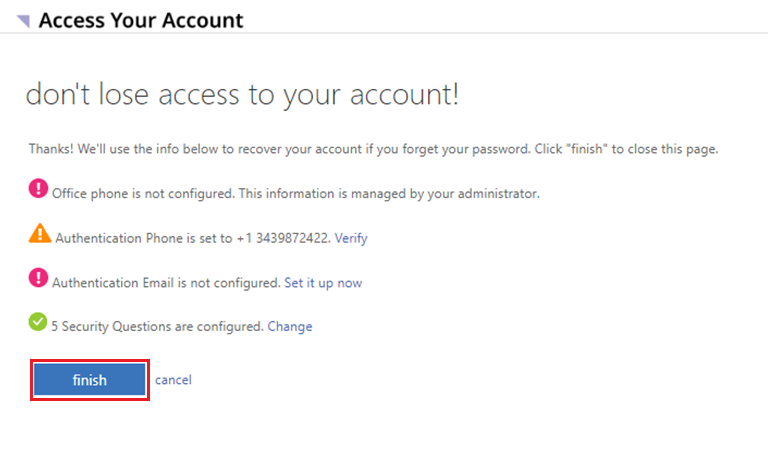
You will be directed to a page called Don’t lose access to your account! Here you will be asked to set up security questions. This can be used for recovering your password later. On the page that appears, next to the option Security Questions are not configured, click the “Set them up now” link.
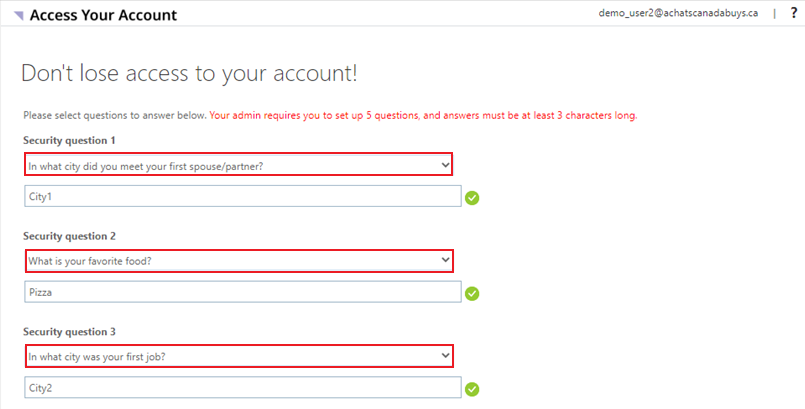
Step 17
Next, you will need to select 5 security questions from the drop-down lists that appear. For each question you select, enter the response in the field below it. When you are finished, click the “Save Answers” button at the bottom of the page.
Step 18
The page will re-load. Click the “Finish” button at the end of the list of items that appear on the page.
Step 19
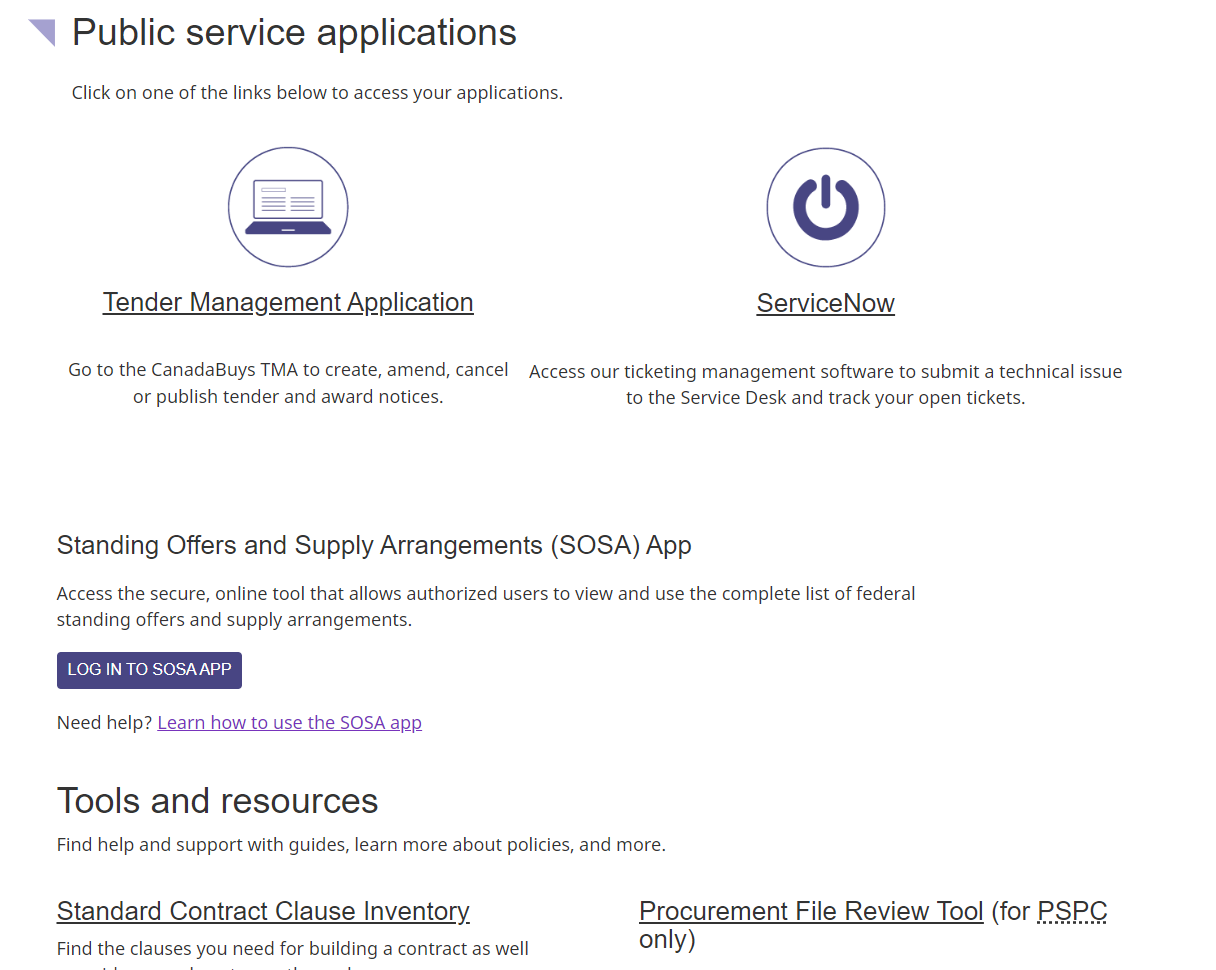
Congratulations, you have now set up your login profile! You will be directed back to the Account access page on the CanadaBuys website. You will now see links to the applications and resources you have access to on this page. Click on the title of whichever application or resource you need to use to open it.
Log in to your account
After you have completed the initial set up for your account, you can follow the steps below to log in again later.
If you are a PSPC buyer, logging in to your CanadaBuys account will give you access to SAP Ariba, SAP Fieldglass and ServiceNow, so you don’t have to log in to each of those separately.
Step 1
Click the “Account access” link at the top-right of any page on the CanadaBuys website to go to the Account access page.
Step 2
Under the Public service employees section of this page, click the “Access Public Service Apps” button.
Step 3
On the CanadaBuys connect page, click the “Log in to CanadaBuys” button.

Step 4
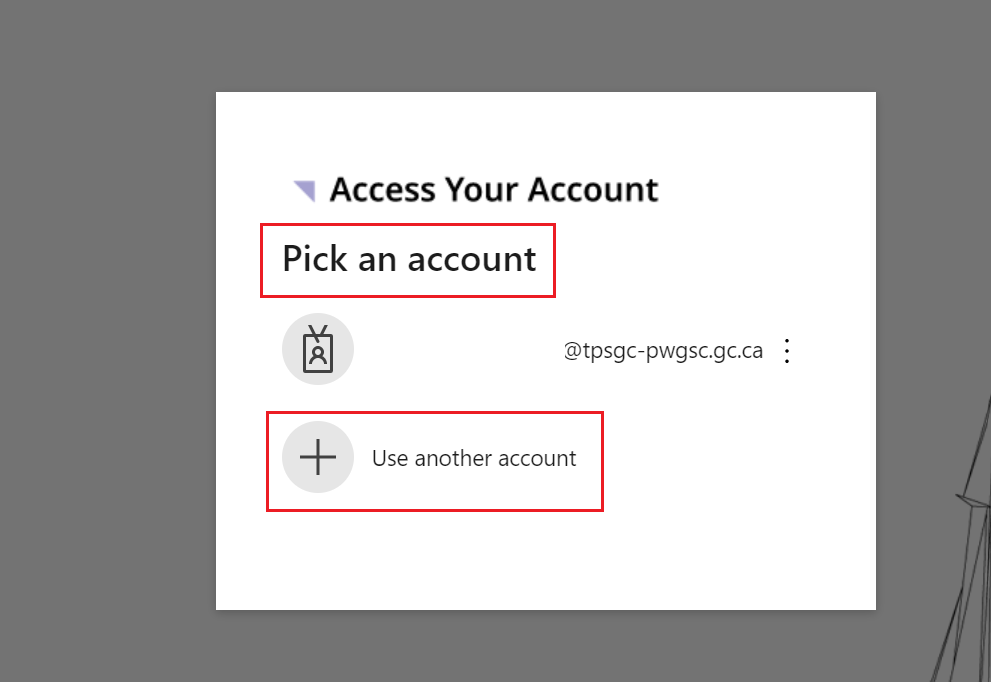
You will be directed to the Access your account page. Select your email under Pick an account. If it does not appear there, click “Use another account,” enter your email in the field provided and click the “Next” button.
Step 5
Next, there are two ways you can verify your identity during login.
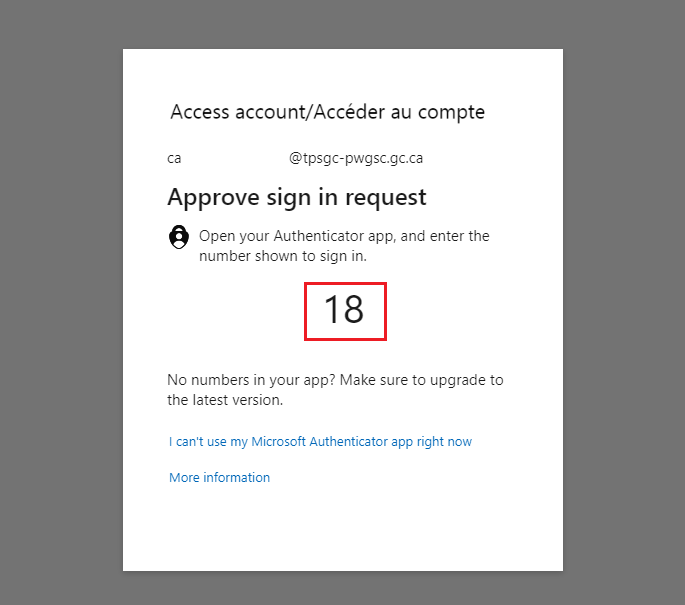
Using the Authenticator app
If you’ve set up the Microsoft Authenticator application as your default sign-in method, a message will automatically appear prompting you to open the app on your phone. With the app open, enter the authentication code that appears in your browser.
Note: Have you set up the Authenticator app as your default sign-in method and want to change it to the text message or phone call option? Ask the CanadaBuys Service Desk to reset your account’s multi-factor authentication. The next time you log in, you will be able to pick a new verification method.
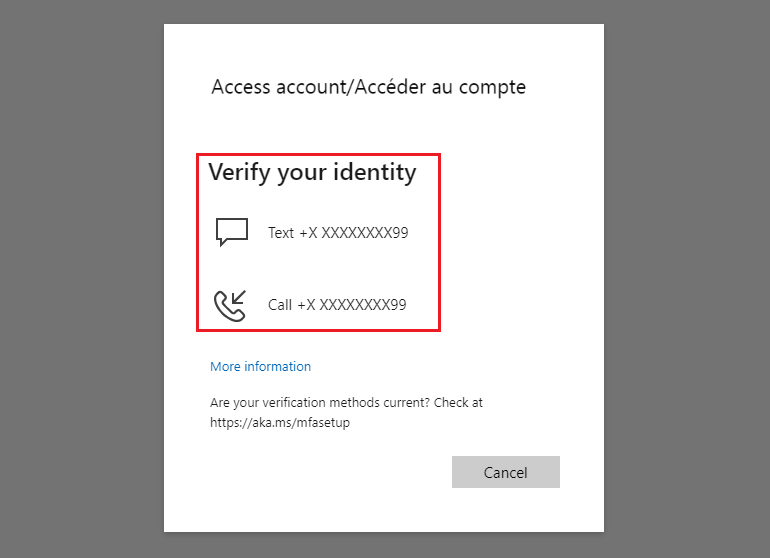
Using a code sent by phone
If you do not use the app, select if you would like to verify your identity by text message or call to the phone number you registered in your login profile.
If you selected text message, enter the code you received in the “Code” field, and click the “Verify” button. If you selected phone call, answer the call from the Microsoft sign-in system and follow the instructions to verify your identity.
Note: If you no longer have the phone that you used to create your login profile, contact the CanadaBuys Service Desk to reset your account’s multi-factor authentication.
Step 6
When you are finished, you will be directed back to the Account access page on the CanadaBuys website. The CanadaBuys applications and resources you have access to will appear on this page. Click on the title of whichever application or resource you need to use to open it.
Log out of your account
Follow the instructions below to log out of CanadaBuys. Logging out of your SAP Ariba or Fieldglass account directly won’t also log you out from your CanadaBuys account.
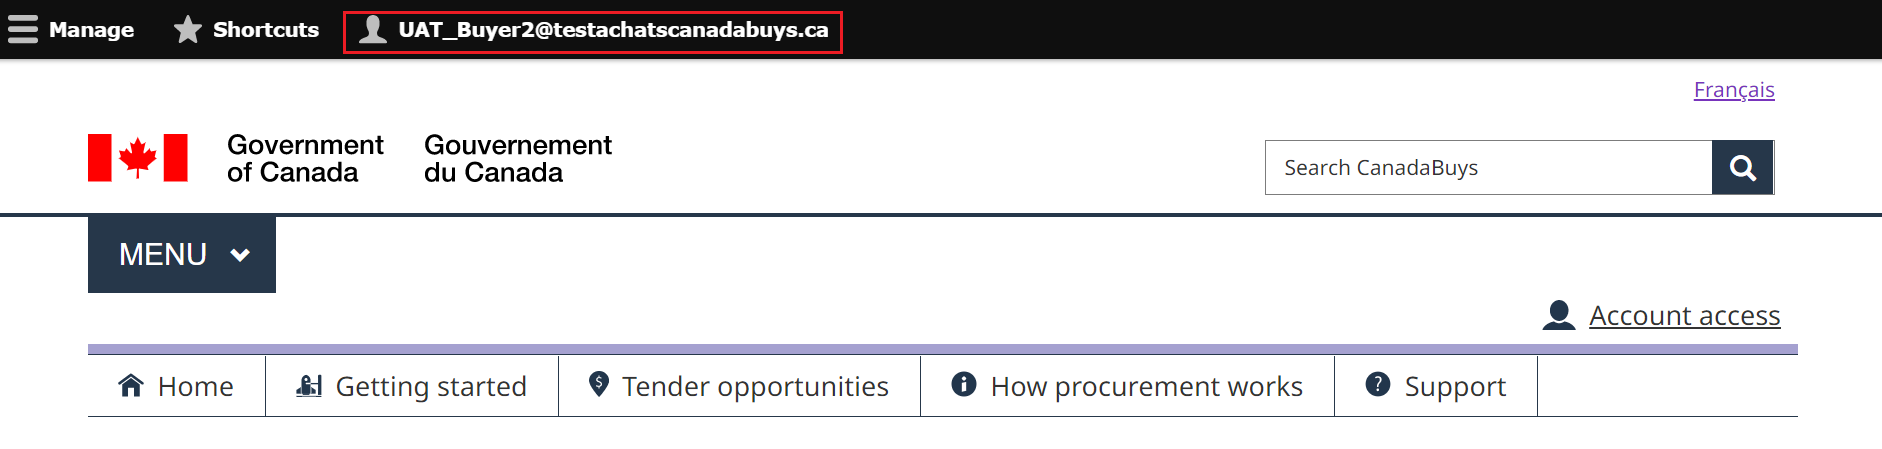
Step 1
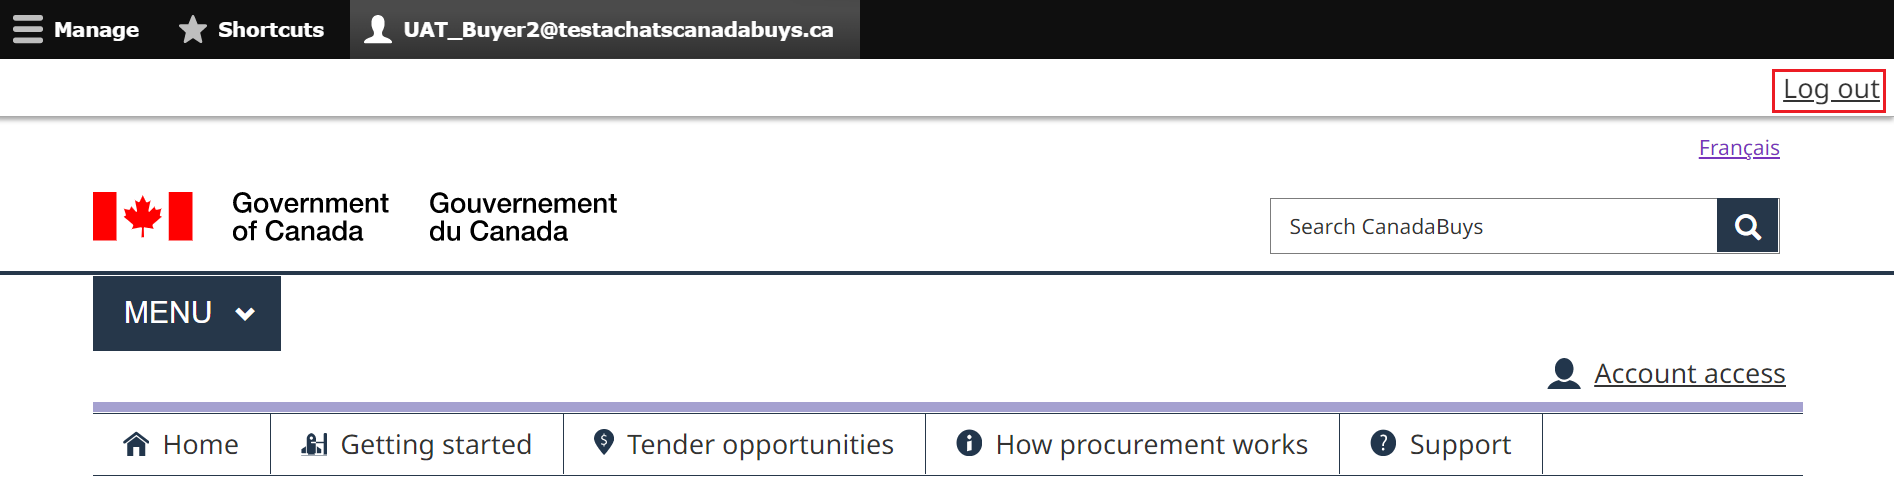
If the log out button isn’t already appearing, click your account name in the top left corner of the website, next to Shortcuts.
Step 2
This will open a second menu. Click the “Log out” link in the top right corner of the website.
Step 3
You will be redirected to a page that will confirm you have been signed out of your account. You can close this window.
Reset your password
If you are a PSPC buyer and need help resetting your password, contact the CanadaBuys Service Desk. For buyers from other government departments, Crown corporations and the broader public sector, follow the instructions below.
Step 1
Click the “Account access” link at the top-right of any page of the CanadaBuys website to go to the Account access page.

Step 2
Under the Public service employees section of this page, click the “Access Public Service Apps” button.
Step 3
On the CanadaBuys connect page, click the “Log in to CanadaBuys” button.

Step 4
You will be directed to the Access your account page. Select your CanadaBuys email under Pick an account. If it does not appear there, click “Use another account,” enter your email in the field provided and click the “Next” button.

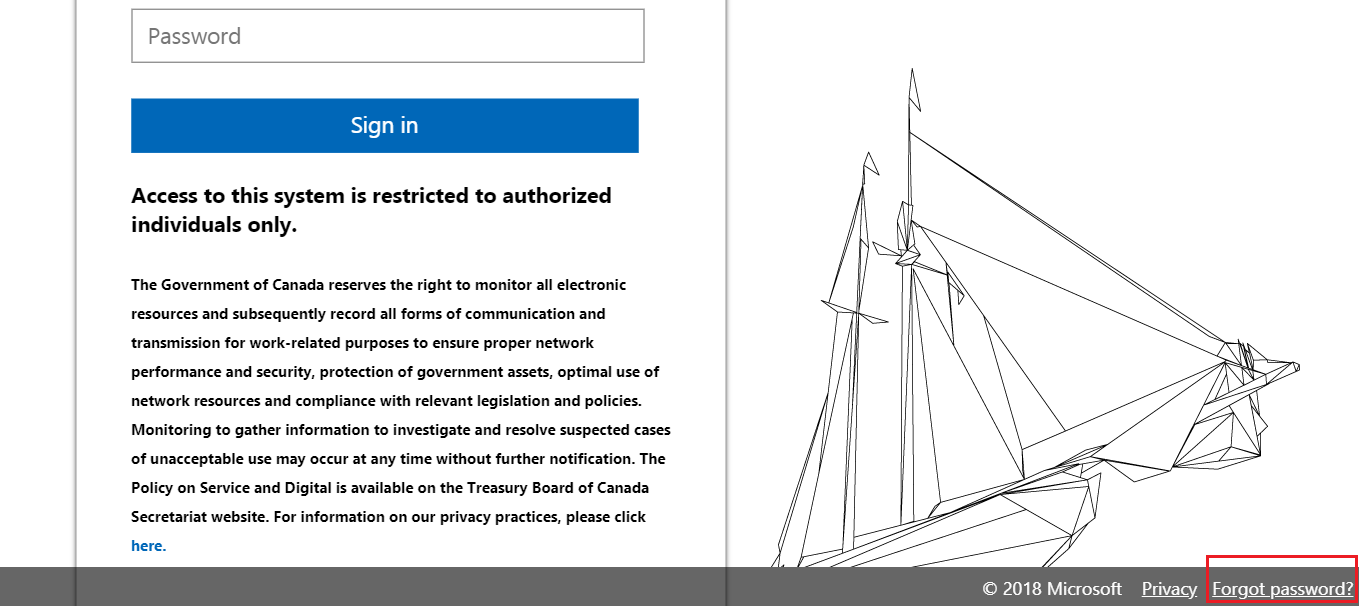
Step 5
When the page reloads, click the “Forgot password?” link in the bottom-right corner.
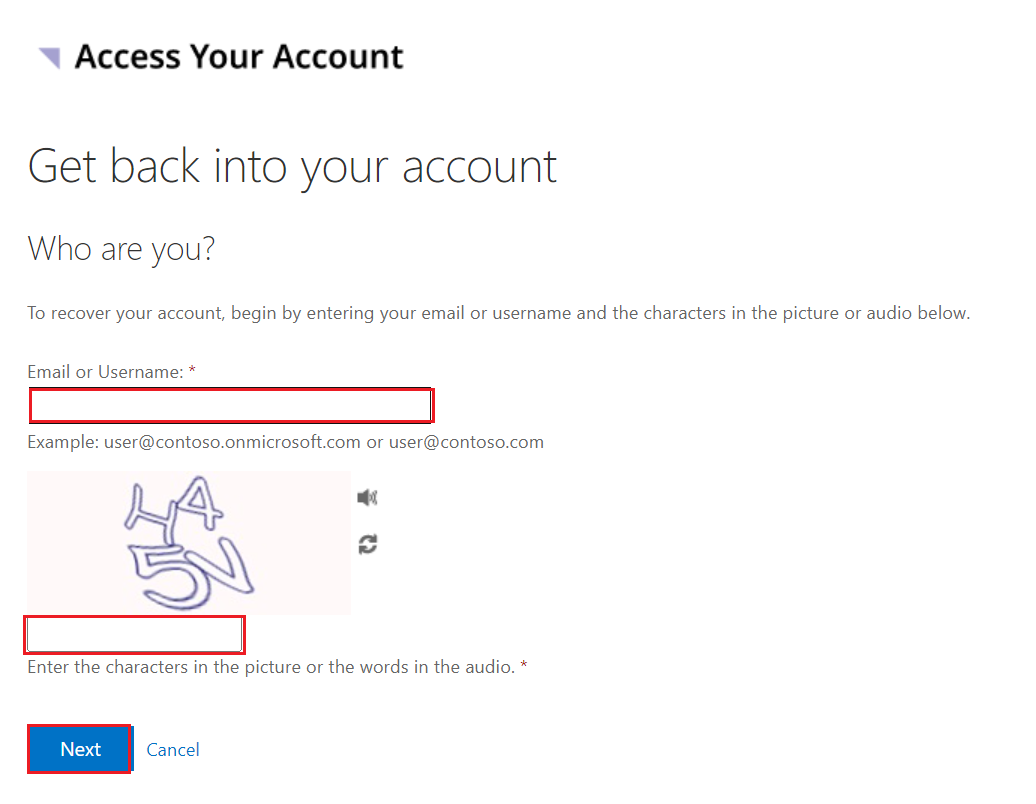
Step 6
On the next page, enter your email address in the Email or Username field. In the second field on this page, enter the characters that appear in the image. Then click the “Next” button.
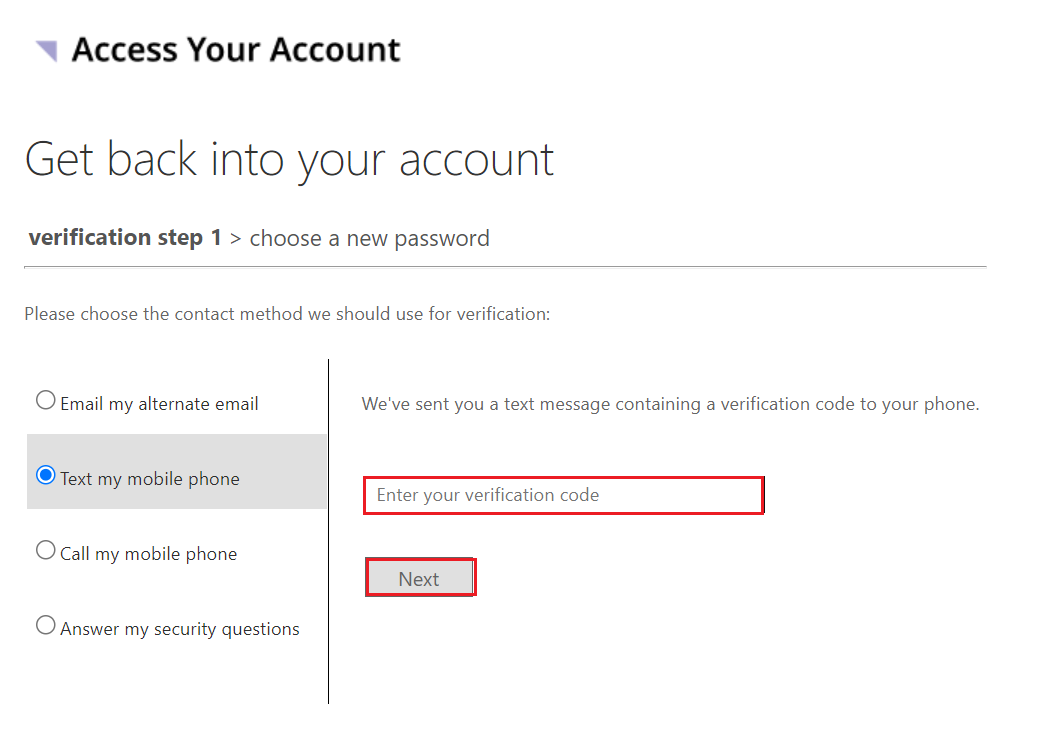
Step 7
The Verification step 1 page will open. You will be prompted to choose a contact method to verify your identity. Select one of the following options:
- Email my alternate email
- Text my mobile phone
- Call my mobile phone
- Answer my security questions

Step 8
If you select the email or text mobile phone option, you will be sent a verification code to reset your password. Enter your verification code in the field provided, or answer your security questions, then click the “Next” button.
If you select the Call my mobile phone option, respond to the call on your registered phone and follow the instructions.
If you choose to answer security questions, you must provide correct answers to your three questions to continue.
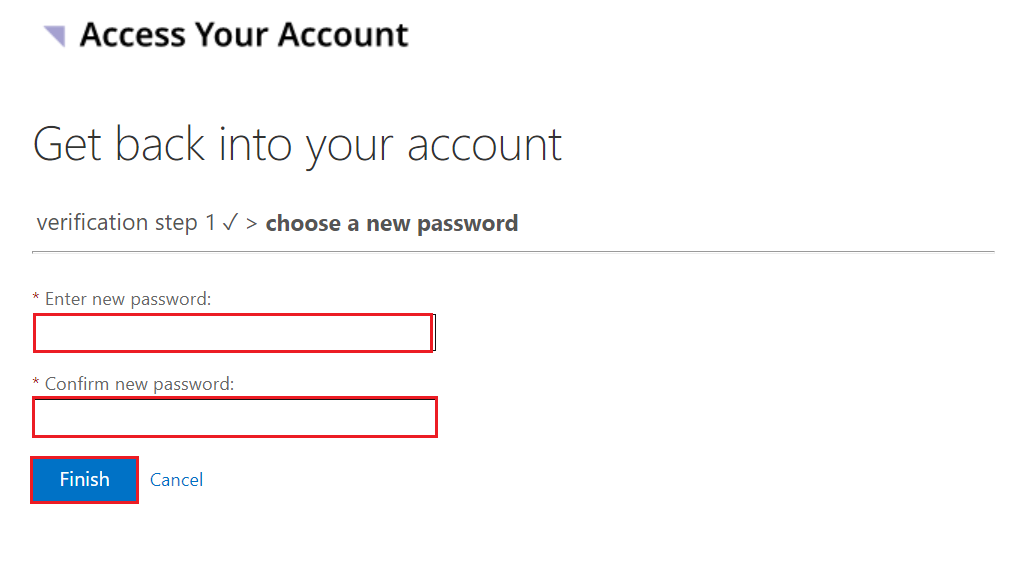
Step 9
The Choose a new password page will open. Type your new password into the Enter new password field, then confirm it by retyping it into the Confirm new password field. Once done, click the “Finish” button.
Step 10
A banner will appear confirming that your password has been reset. You will also receive a confirmation email for your password reset from Microsoft on behalf of PSPC.
